Pages

Showing posts with label DIY. Show all posts

Wednesday, December 21, 2011

Handmade Holiday

I am not the normal holiday shopper.
I do not shop on Black Friday. I do not wait in ridiculous lines for stores to open.
I do not like to buy gifts off the shelf, wrap them up and call it a gift.

I like to give things that are truly meaningful and thoughtful.
I like to make things, and use my creativity to gift something that someone will truly love.

I have not bought one single gift off the shelf this year.
Here's some of the gifts I've given that have been made straight from the heart.

I painted this for my secret sister at work.

I painted this for one of my dearest friends.

 My best friend got married and thankful Pinterest inspiration, I made this ornament for her from her wedding invitation.

Hope you can use some of your creativity to give to someone else this year!
Merry Christmas!

Tuesday, December 20, 2011

Photo Canvas Tutorial

I've seen multiple tutorials online and all over Pinterest and I decided to do one of my own. I've used tissue paper photos many times, but never have loved the outcome of the canvas. So here's my tutorial on using a real photo. Enjoy, and try it out for yourself!

Supplies needed:
~ a couple of paint brushes (I prefer sponge for this one)
~ Modge Podge (Available at craft stores)
~ Scissors or paper cutter
~Scrapbook paper
~ Canvas
~Black paint
~ One beautiful picture 
(I had two of some because I was making two at the time.)


Make sure your photo fits on the canvas.
I wanted mine to line up to edge as close as possible 
so it looked more like it was a canvas and not a photo.

Put a layer of Modge Podge all over the canvas.
Top side and all edges.
Let it sit for 10 minutes to dry.

Cut strips of scrapbook paper to fit the edge of the canvas.

Cover the edges of the canvas with another layer of Modge Podge.

Put a layer of Modge Podge on each strip of paper.

Place each strip on the edge of the canvas.
Smooth out all bubbles. It may take you a few strokes to get it right.
Repeat on all four sides.

I tried to cut the length to fit perfectly, and used extra to overlap if needed. 
Let it dry before starting the next step.

Add a layer of Modge Podge to the top of the canvas.

Place the photo on the top of the canvas.
I used a towel to wipe out bubbles to not fingerprint the photo.

Once you get it placed, let it dry for 20 minutes.

Once it's dry, paint a thick layer of Modge Podge over the photo 
and every edge of the canvas. 
Don't worry if it's white-it dries clear.

Once it's dry, begin to place paint on the edge where the photo meets the paper.
I wanted a more black, antique look so I wiped my brush off to make sure I didn't use too much.
You can always add more paint if needed.
Sponge brushes also are best because of the look you get from the sponge.

 Finish the painting, fill in the white spots, and VOILA! 


 A great, easy, cheap, homemade gift that anyone will love!

Sunday, November 27, 2011

Bananas for Banners

I'm known for going a little crazy for banners...


 What can I say?
They are the perfect addition for a party or shower.

Here's my most recent one.


If you missed the tutorial on these easy banners, check it out.

Sunday, August 28, 2011

Baby Shower Banner

I was talking with a friend who needed the help of a crafty lady to create a banner for a baby shower. So with a plan and a trip to Hobby Lobby, we headed home to get to work.

We bought: two boxes of cardboard letters, 6 sheets of two different print 12x12 scrapbook paper, glue dots or glue sticks and ribbon to match the paper.


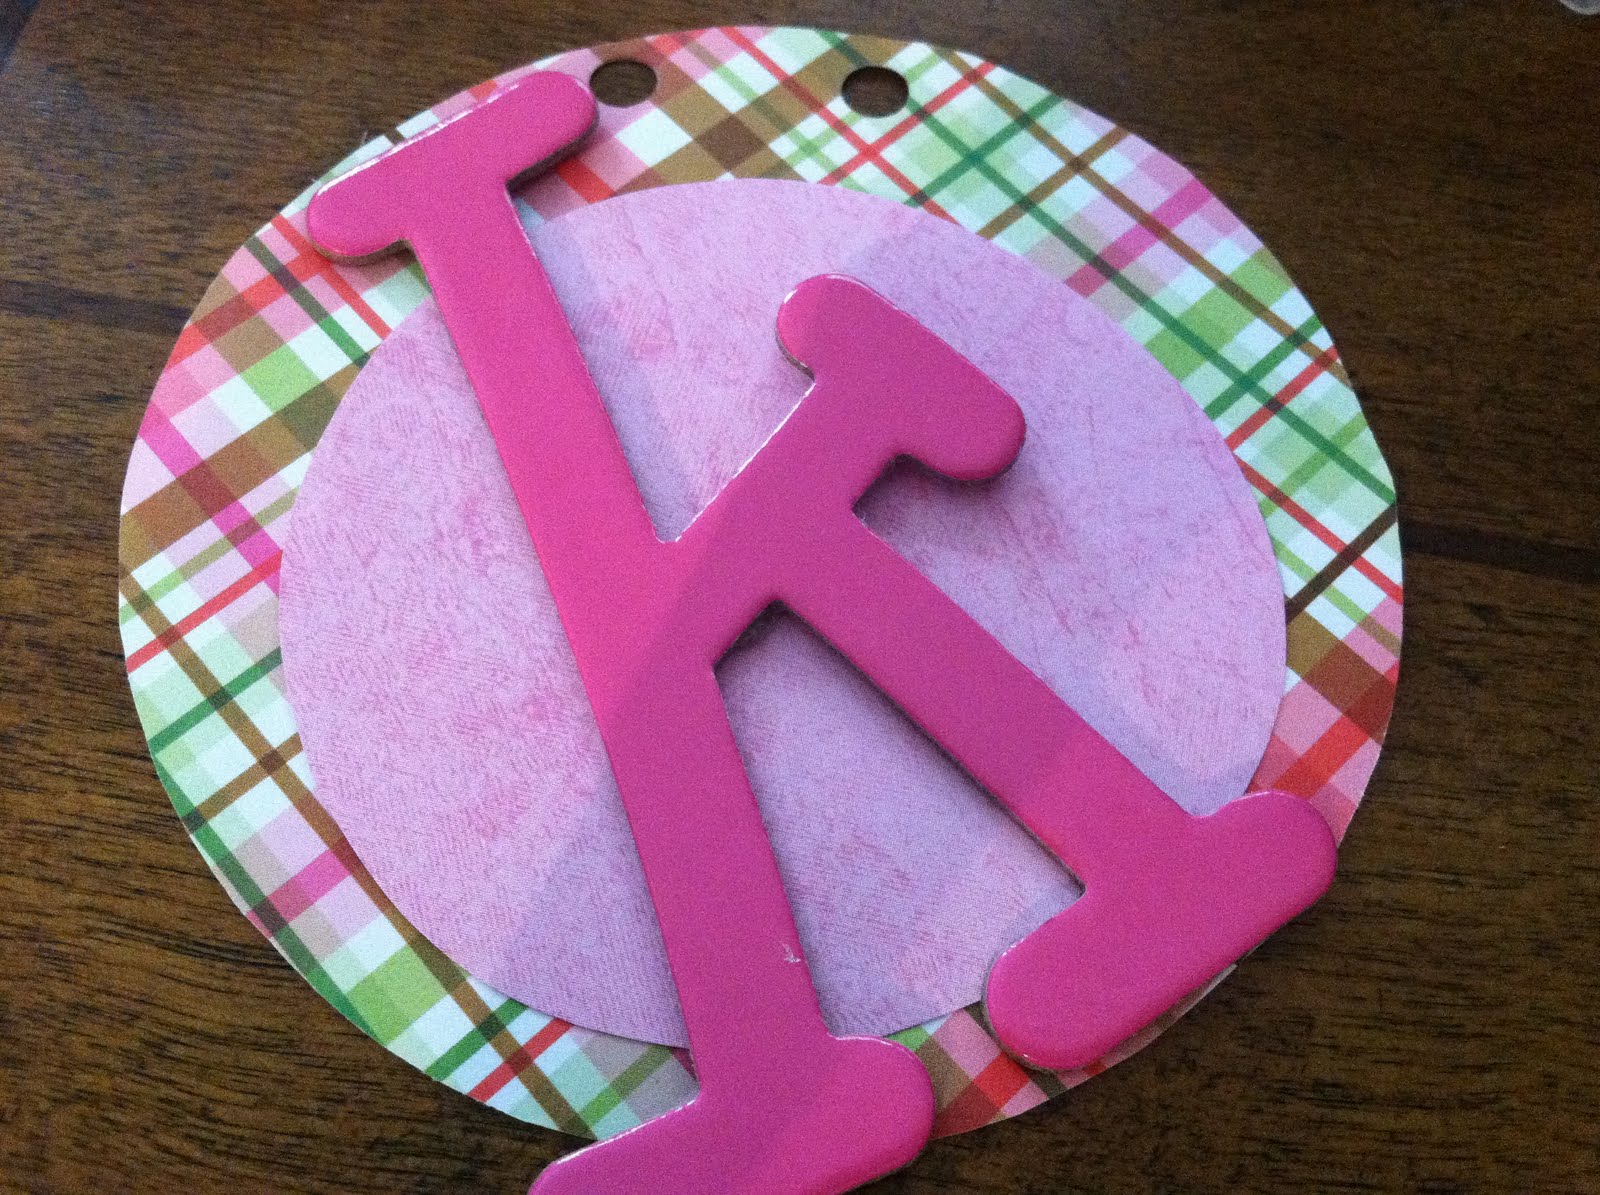
First, choose which sheet you want as your backing to the circles. I chose the plaid pattern so that the pink letters would stand out. These circles are about four inches wide.

I made one for every letter and put a three inch pink circle on top of it. After glueing those together, I punched two holes about an inch apart for the yarn and then adhered the cardboard letter to the circles with a glue dot.

Each circle then looked like this.

 Once you have all the letters and circles done, string them on to the ribbon by going through the back of the left hole and into the front of the right one. You can space them out however you like. I like to hang them in a curve so they are pretty close together.

I leave the same amount of room at the ends of the ribbon, tie a pretty knot and you ta-da, 
you have a banner!

Happy crafting!

Tuesday, June 14, 2011

Good Afternoon

 On Sunday afternoon my aunt asked if I could help paint some things for the women's ministry. I agreed and headed over, excited to dig into some art, but surprisingly found my cousin, Garrett, upset. I've written here about how sweet and dear of a child he is. He is sensitive and meek and loves everyone. He always wants a kiss and a hug. He is a sweetheart.

I tried to comfort him and got him to work on a masterpiece while I was working. He told me he was going to paint something from the west.


I was beginning the process of making wooden magnets, that also make great coasters. First step is to give them a basic coat of your base color. I painted both sides and the edge and gave them two coats.


He began working on the blue sky. According to him, this was the perfect shade of blue.


 My circles then got a perfectly pink flower and while still wet, I dabbed my finger in red and worked it in to the edges of each pedal for a color-blending effect.


Garrett began working on a boot. He is quite artistic and was very focused on the painting.


Once dry, the next step was giving the flowers a center. I like to add more than just a plain circle to give dimension and more real life effects. 


Garrett decided he was finally finished and as I taught him how to apply sealer, he also learned the best purpose for a hairdryer.


And... ta-da!!! The finished product titled: The West. He was so proud and seeing him enjoy something I love dearly made my day.


The circles got the final step of the word 'forgive' and a nice coat of sealer and were left to dry. I think the women at the luncheon loved these. They would brighten up any refrigerator. 


Thursday, June 2, 2011

Gift Bag No More

How many times have you gone shopping for a gift and in the shopping cart you placed a gift bag that costs more than you want to pay? How many of you buy the cheapest gift bag you can get away with buying? (That's me.) How many of you have a gift bag full of gift bags that will probably never be gifted again?

If you said yes to any of those questions, this post may be for you. I was recently shopping for a little boy's birthday gift. After finding the gift I wanted to purchase I went to get a card and a gift bag. I found a reasonable card and began looking through gift bags, in the hopes of only going one store. I looked for about ten minutes and the cheapest one I could find was $4. I just couldn't spend that on a small gift bag, so I got in line to check out, annoyed that I had to make another stop.

As I was in line, in front of me stood a rack with recyclable bags. The light bulb came on! Why not buy a reusable bag, that's cute and useful, and save money, too? I got this bag for $1.99.


It was just as cute as a gift bag, if not cuter, perfect for a boy and fit everything perfectly. It made me happy to give it and know that it won't be tucked away in a closet, broken or thrown away.

I later did some research on where to find more and found out that you can find practically any bag you want- any shape, size, color, pattern, print and price.

I found this adorable classic Dick and Jane print bag. It would be perfect for a baby shower or baby gift. You can check it and more out here.


I found another website called Baggu Bags, that creates all types of bags out of recycled cotton. You should look at them. They have so many that I quickly fell in love with. Especially anything in this green stripe.


I also found a lot of bags being made out of recycled goods and the proceeds went to help a cause. This gorgeous lunch-size bag goes to help give employment to women in third world countries. You can see and more here.

In a world where you can find so much that is made to help our world, why not buy something like this?